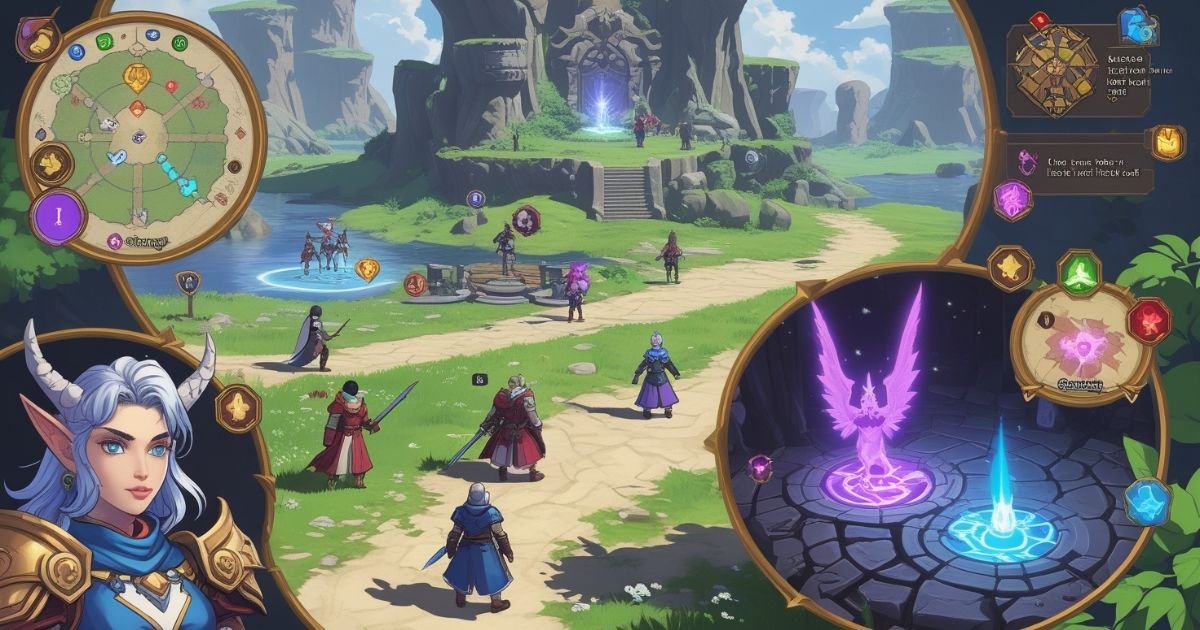
Hey there, fellow adventurers! Whether you’re knee-deep in magical mysteries or just picking up Lost Lands 3: The Golden Curse for the first time, you’re in for an epic journey. This guide is here to help you navigate the twists and turns, uncover hidden secrets, and conquer those tricky puzzles without losing your mind (or your mouse). Let’s dive right in!
Table of Contents
Welcome to the Lost Lands 3
Our beloved heroine Susan is back, and trouble is brewing in the Lost Lands once again. A deadly curse has turned statues into stone warriors, and it’s up to you to solve the mystery. First things first: don’t skip the intro scenes. The story is rich, and you’ll want all the context you can get.
Right from the beginning, keep your eyes peeled for collectibles: morphing objects and puzzle pieces are hidden in many scenes. These will unlock achievements and bonuses later, so click carefully and often!
Chapter 1: The Portal Awakens
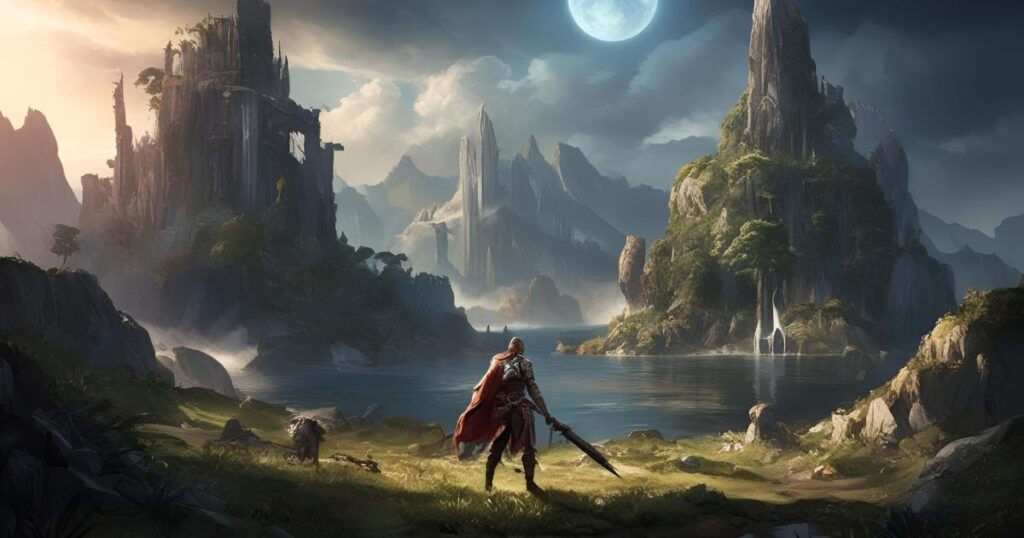
Start by exploring the portal area. You’ll need to fix the mechanism to activate the portal to the Lost Lands. Grab any tools lying around (you’ll find a stick and a piece of flint early on) and look closely at the statue’s base for your first puzzle.
Pro Tip: If you can interact with something but it doesn’t work yet, don’t stress. You’ll often come back later with the right item.
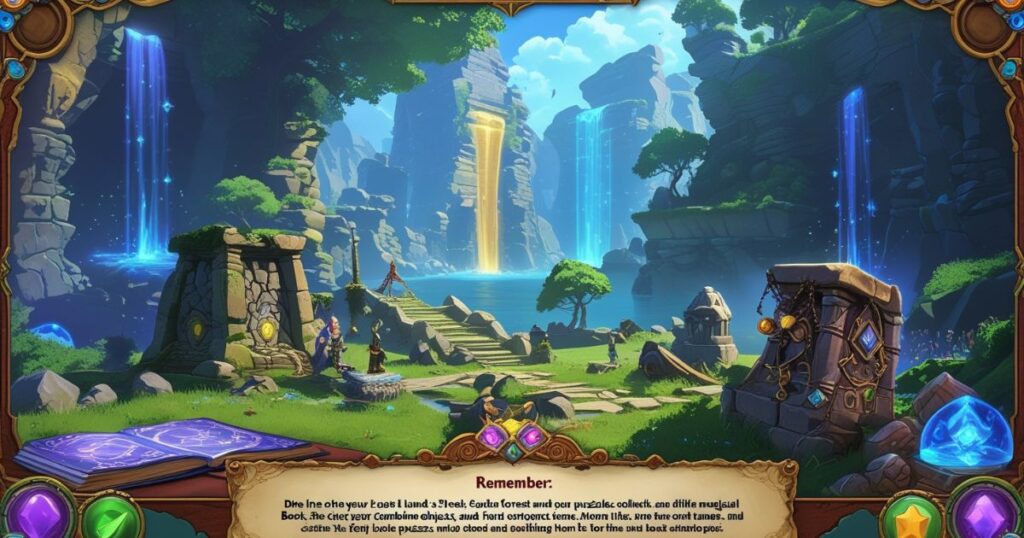
Once you’ve fixed the portal, it’s time to step through. Here we go!
Chapter 2: Enter the Ancient Forest
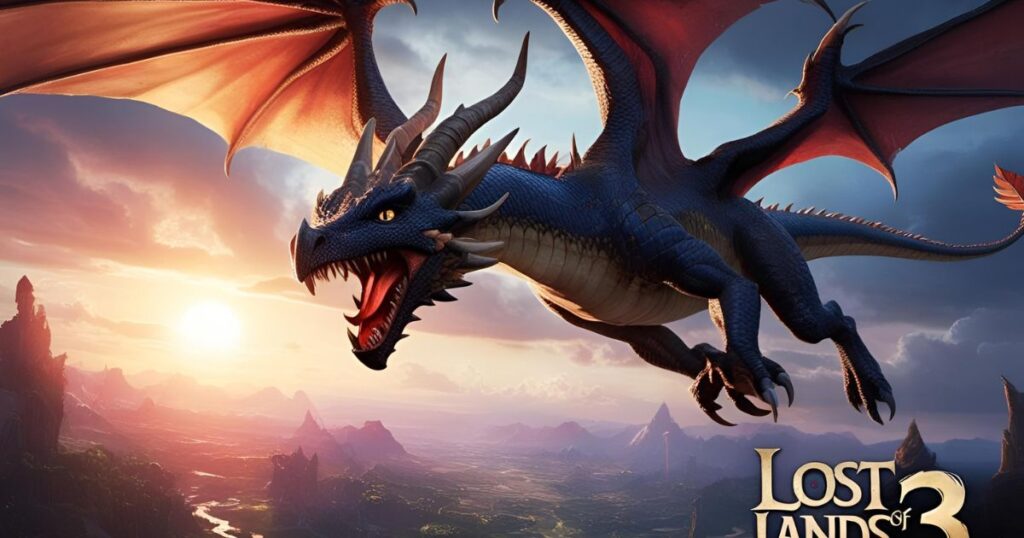
Welcome to the forest! Here you’ll meet Maaron the mage, who gives you some background on the curse. He’ll also give you a magical book that helps keep track of objectives and lore. Don’t ignore this – it can be a real lifesaver.
Start gathering items like resin, twigs, and rope. These forest scenes are dense with items you’ll need soon. There’s also a mini-puzzle to fix a bridge. It’s a sliding tile challenge. If you’re stuck, take a break and come back with fresh eyes – sometimes that’s all it takes.
Hidden Object Scenes (HOS) also start appearing here. These are fun and not too punishing. Items can be cleverly hidden, so use your hint button if you’re truly stuck.
Chapter 3: Ruins of the Past

Now you’re exploring ancient ruins, complete with traps and secrets. You’ll be solving puzzles involving stone tablets and ancient runes. If a puzzle looks intimidating, remember that clues are often found in nearby scenes. Keep a notepad or take screenshots if you’re worried about forgetting symbol combinations.
This chapter introduces more inventory crafting. For example, you might need to combine a stone hammer head with a wooden handle to break down a wall. It’s always satisfying to piece things together.
Also, be on the lookout for magical artifacts. These often have repeat use and will help you bypass magical traps or decode mysterious scripts.
Chapter 4: Into the Depths
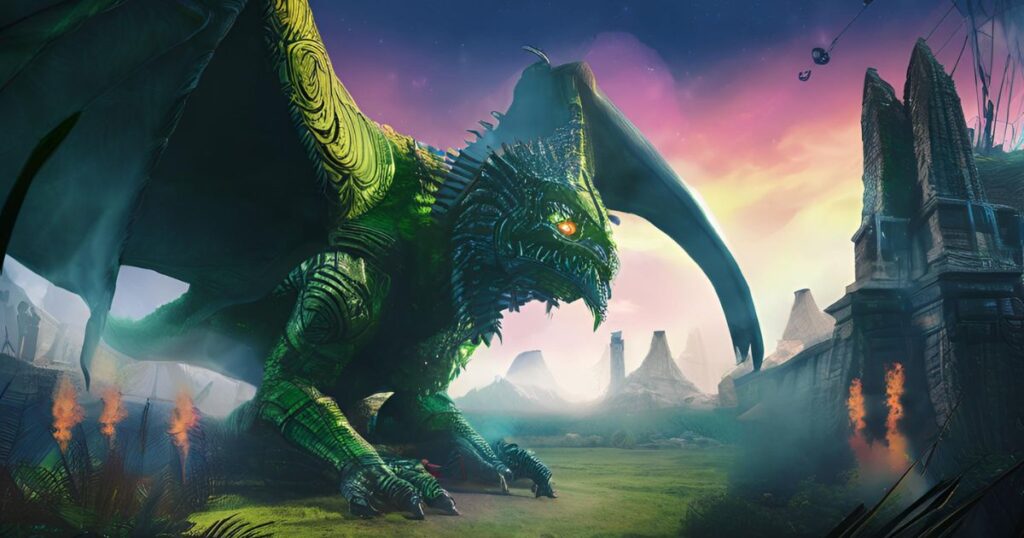
You’re now deep in the catacombs and old tunnels beneath the Lost Lands. It’s dark, creepy, and full of challenges. You’ll encounter your first real logic puzzles here. Think matching symbols, rotating rings, and sequence-based locks.
You’ll also get your hands on a torch. Use it to explore darker areas and uncover hidden paths. There’s a bit of backtracking in this chapter, so don’t be afraid to revisit older locations.
Tip: If you’re ever unsure of your next move, check your journal and objective list. It usually gives a clear nudge in the right direction.
Chapter 5: The Sunken Temple
Time for some water-themed puzzles! The Sunken Temple is full of aquatic hazards and clever challenges. You’ll need to find a way to drain water, fix machinery, and navigate flooded halls.
Here, you’ll also discover more about the main antagonist. Keep an ear out during dialogue scenes, and don’t skip any cutscenes – they’re full of juicy story bits.
This chapter includes a memorable puzzle involving colored crystals and light beams. It’s a bit of a brain-bender but very rewarding once you figure it out. Take your time and experiment.
Chapter 6: Cliffs and Confrontations
You’re nearing the endgame! The cliffs are home to some of the most challenging puzzles, and the enemy’s presence is stronger than ever. Expect to solve a multi-layered puzzle involving gears, weights, and timing.
You’ll need to collect the final magical items to complete a ritual. Make sure you haven’t missed any puzzle pieces along the way – now’s the time to go back and find them if you’re aiming for 100% completion.
A huge boss puzzle awaits you at the end of this chapter. It combines logic, memory, and inventory use in a big final challenge. Take a breath, stay calm, and piece it together step by step.
Final Chapter: Restoring Balance
The climax of the game is here. All your efforts lead to a final confrontation and resolution. There’s a heartwarming scene with the Lost Lands citizens and a final magical ritual.
You don’t have to rush. Enjoy the visuals, soak in the music, and take pride in completing this epic journey. If you’ve collected all morphing objects and puzzle pieces, congratulations – you’re a true Lost Lands master!
Extra Tips for Smooth Adventuring
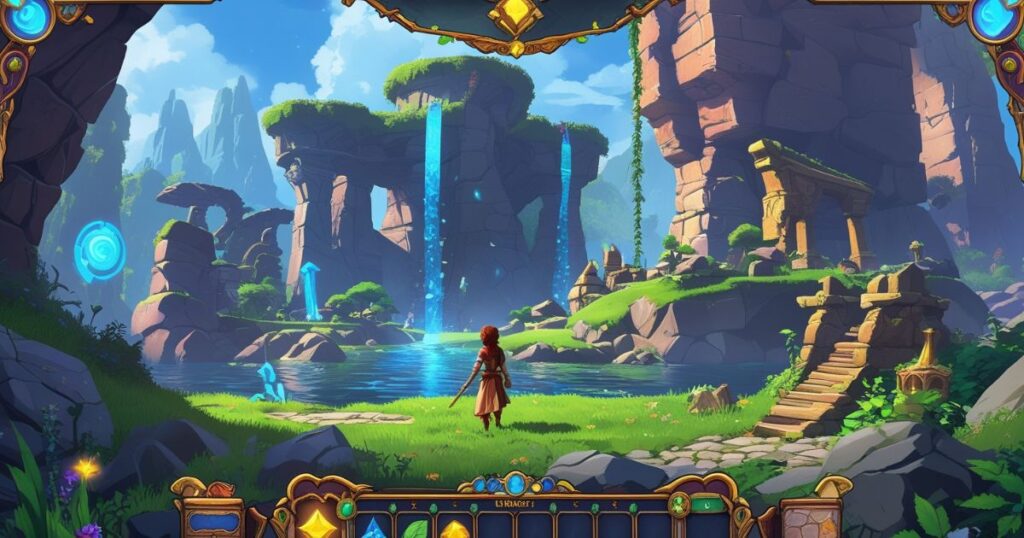
- Use the map! It shows where you have active objectives, so you’re not wandering aimlessly.
- Check every nook and cranny. Items can be tiny and well-hidden.
- Keep combining! If stuck, try combining inventory items.
- Relax and have fun. It’s a game designed to be enjoyed, not rushed.
Final Thoughts
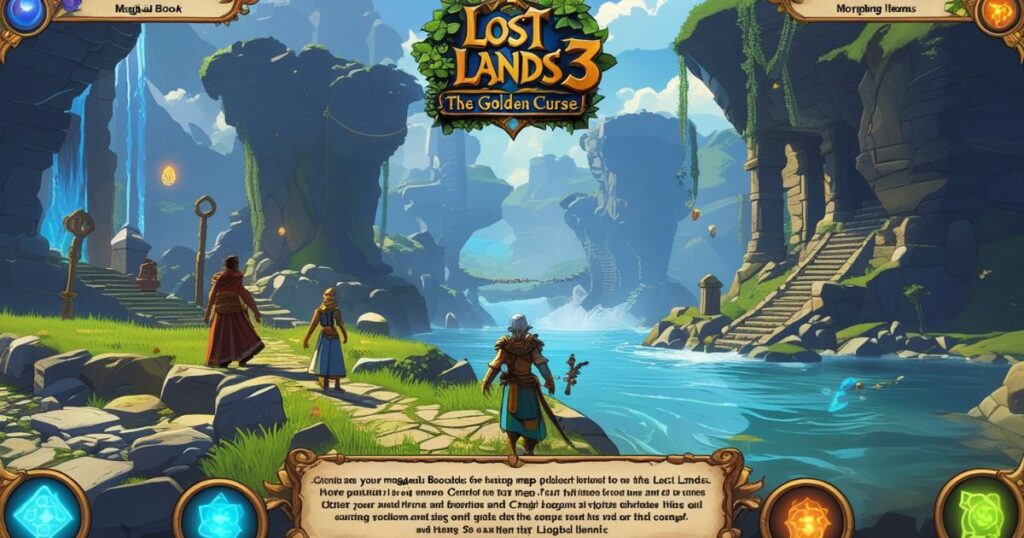
Lost Lands 3: The Golden Curse is a delightful mix of fantasy, logic puzzles, and hidden object fun. Whether you’re a casual gamer or a puzzle veteran, there’s something here for everyone. With a little patience and curiosity, you’ll uncover all its secrets and restore peace to the Lost Lands.
Happy adventuring, and may your wits be ever sharp!
Read Also:
