Hey there, fellow gamer! Stuck in the dark, eerie tunnels of Metro Escape and wondering how on earth you’re supposed to survive and make it to the surface? You’re in the right place. Whether you’re a seasoned survivalist or just dipped your toes into this atmospheric escape adventure, this walkthrough will guide you step-by-step through the core gameplay, help you deal with puzzles, avoid (or fight) enemies, and ultimately, escape the metro once and for all.
Table of Contents
So grab your flashlight, tighten your backpack straps, and let’s make our way out of the depths!

Understanding the Basics of Metro Escape
Before diving into the meat of the game, let’s quickly go over a few essentials:
- Inventory Management is Key: Metro Escape doesn’t shower you with supplies. Keep an eye on your inventory and don’t waste batteries or med kits unless necessary.
- Listen to the Audio Cues: The game does an incredible job using audio to hint at dangers, puzzle mechanics, or hidden routes. Keep those ears open.
- Save Frequently (If You Can): Depending on your difficulty, save points might be scarce. When you see one—use it.
Alright, now that we’ve got that out of the way, let’s walk through the major sections of the game.
Section 1: The Abandoned Platform
Objective: Find a way to power up the gate to Sector A
You’ll start on a pitch-black platform, your flashlight flickering. The game gives you minimal direction, so it’s easy to get turned around at first.

- Tip: Right behind the starting spawn is a maintenance room—search thoroughly. You’ll find a battery, a rusted crowbar, and your first audio log.
- Use the crowbar to break the wooden barricade on the left of the platform.
- Creep forward until you reach a power junction box. You’ll need a fuse to activate it.
Puzzle: Where’s the Fuse?
Head down the dark tunnel with graffiti that says “No Exit.” Ignore the name. In a locker halfway through, you’ll find the fuse. A jump scare might trigger when you grab it (I jumped… not gonna lie).
Backtrack, slot the fuse, and boom—the gate to Sector A opens.
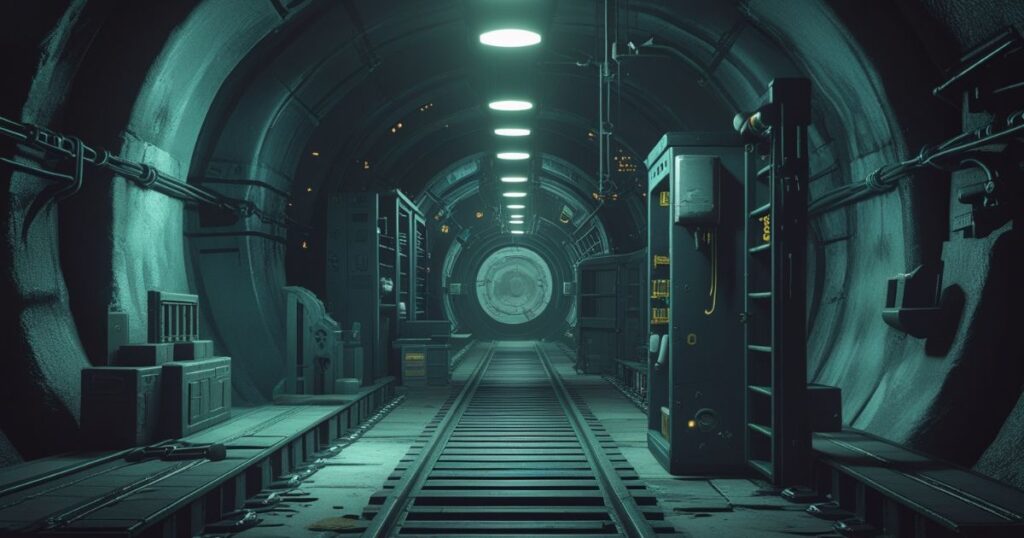
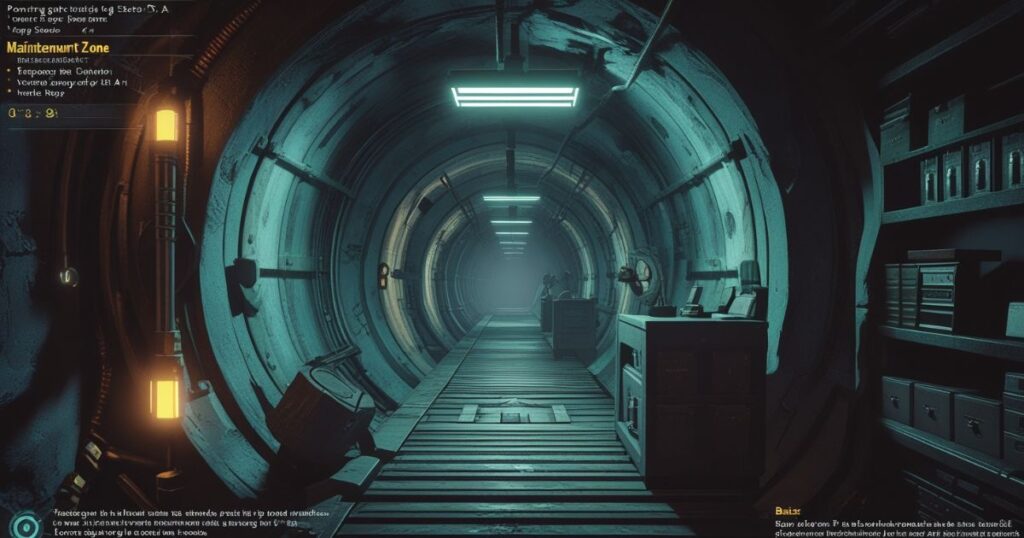
Section 2: Maintenance Tunnels
Objective: Navigate to the control room and reset the central circuit.
Now things get spookier. The tunnels are crawling with what the game calls “Echo Shadows”—figments of the past that become dangerous if you look at them too long.
- Tip: Don’t stare. Keep moving and use cover.
- You’ll hear whispering—follow it to a room with a broken keypad.
- You’ll need the passcode from a note pinned behind a broken vending machine in the janitor’s office.

Once inside the control room, you’ll face your first major puzzle.
Puzzle: Power Circuit Reset
This is a multi-part sequence:
- Flip the red switch to disable the old circuit.
- Arrange the wires so the current flows from the blue to green terminal. It’s basically a pipe puzzle.
- Insert the battery from earlier to boost the voltage.
It’s not too difficult, but there is a time pressure mechanic introduced—when the power fails, Echo Shadows will start gathering around. Be quick and deliberate.
Once completed, the lights flicker back on (for now), and the next gate opens up.
Section 3: The Derailment Zone
Objective: Escape the collapsed railcar and reach the ventilation shaft
You’ll now enter a part of the map filled with collapsed train cars, debris, and eerie red lighting. There’s a more intense enemy presence here—Stalkers.
These enemies patrol in predictable loops, but they are fast and can kill in one hit.
- Tip: This is your stealth section. Stick to the shadows, crouch-walk, and throw bottles (found scattered) to create noise distractions.
- There are two keycards you’ll need:
- The red keycard is in the guard’s booth (watch for a Stalker that loops back here frequently).
- The blue keycard is under the rubble of a flipped vending machine in the back left corner.
Use both keycards to unlock the emergency elevator room.

Mini-Boss: The Broken One
You’ll face your first real boss fight now—a mutated ex-worker known as The Broken One.
Strategy:
- He’s blind but hears everything.
- Use your environment—hit switches to create loud noises that distract him.
- There are three exposed valves on his back. You need to burst them open using nearby steam vents.
- Time your movements and valve activations so he walks into them.
After a successful (and hopefully not too traumatic) encounter, the elevator activates, letting you descend even deeper—yeah, not ideal, but it’s the only way forward.
Section 4: The Archives
Objective: Discover the metro’s secrets and find the override codes
Welcome to lore city. This area is less dangerous and more focused on story and puzzle-solving. You’ll get to read old logs, discover what caused the lockdown, and start to understand the bigger mystery behind the metro’s collapse.
- Check the terminal in the records room. Use the log IDs you’ve collected to unlock backstory details.
- There’s a rotating bookshelf puzzle in the reading lounge—align the books with roman numerals to unlock the override terminal.
- Collect the override chip from the safe (combo: 2-5-8 from the sticky note near the librarian’s skeleton).
Final Section: Escape Route
Objective: Upload the override and ride the service tram to the exit.
Almost there. Insert the override chip into the master console and prepare for a final gauntlet.
As the tram powers up, a massive Echo Shadow horde chases you. This is a timed escape sequence:
- Sprint.
- Don’t look back.
- Use the fire extinguishers and overhead pipes to slow enemies.
- Jump into the tram at the last second.
Once inside, the game gives you one last decision—blow the tunnel to seal the Shadows or leave it open, risking others finding the metr
Endings:
- Seal the Tunnel: You escape alone, haunted but alive. The metro stays buried forever.
- Leave it Open: You escape, but the final scene hints that the horrors are not done spreading.
- Secret Ending: If you collect all 10 hidden audio logs, you unlock a third option—activating the old defense AI. This leads to a more bittersweet but satisfying ending.
Final Thoughts
Metro Escape is one of those games that sticks with you. Its atmosphere is oppressive, the sound design is stellar, and every corner is filled with that “what’s next?” tension that survival horror fans adore. Hopefully, this walkthrough helped you push through the hardest parts and understand the decisions laid before you.
Got a favorite moment? A part that scared you silly? Let’s talk in the comments below—no spoilers without tags!
And if you liked this guide, feel free to share it with your fellow metro-dwellers. Who knows? Maybe together, we’ll finally escape this madness.
Let me know if you’d like a downloadable version, extra tips for the secret ending, or maybe a video breakdown next! Happy escaping! 🚇💥
Read Also:


