For many decades, the Rubik’s Cube has turned out to be an interesting puzzle for enthusiasts. It might look kind of complex, but solving a 3×3 Rubik’s Cube is extremely easy when you just stay on the right track. Here, we cover each phase in a step-by-step way. By the end of it, you will know how to solve the cube, and you will have satisfaction in mastering one of the world’s most popularly known puzzles.
Table of Contents
Introduction to the Rubik’s cube 3×3
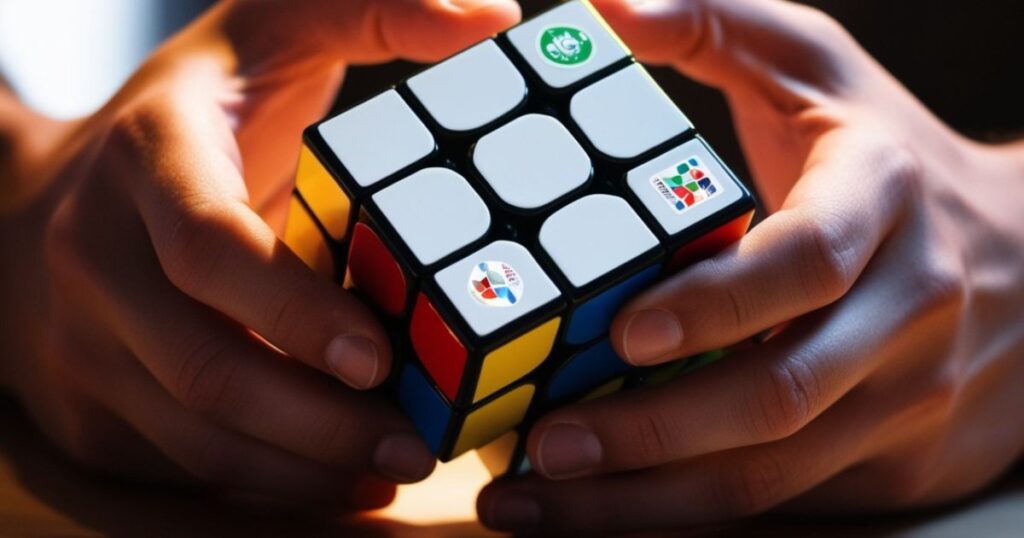
The Rubik’s Cube has six faces, each divided into nine squares. Each face starts with a unique beginning color. To solve the puzzle you need to get each face back to its original state: single-color. With billions of possible configurations, it will take you more than trial and error to determine the solution. We will break down the process step by step in a structured approach.
Step 1: Understand the Notation
Algorithms for the Rubik’s Cube although somewhat specific, can be expressed in rotations as such:
- U: Upper face clockwise
- U’: Upper face counterclockwise
- R: Right face clockwise
- R’: Right face counterclockwise
- L: Left face clockwise
- L’: Left face counterclockwise
- F: Front face clockwise
- F’: Front face counterclockwise
- D: Down face clockwise
- D’: Down face counterclockwise
Using this notation it is easy and accurate to follow any algorithm, and hence reaching the solution gets much easier.
Step 2: Solve the White Cross
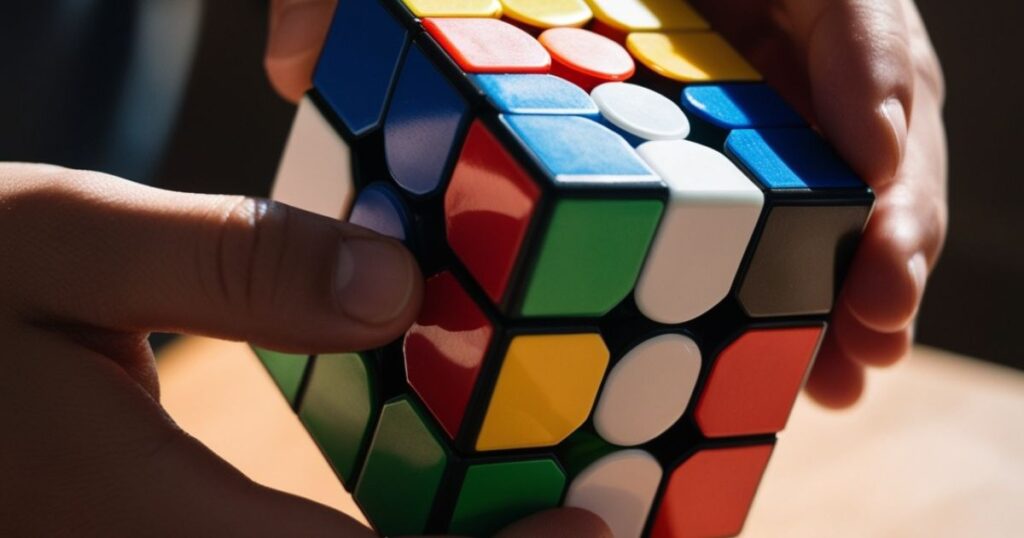
- Find the White Edges: First, locate the four white edge pieces, which have white on one side and some other color adjacent to it.
- Attach the White Edges to the Center Colors: Then connect each white edge to a face so that its color matches the center square of its adjacent face.
- From the Cross: Use the following algorithm if necessary: F, R, U, R’, U’. This will align the white edges with the centerpieces so the white cross is formed.
Step 3: Solve the White Corners
Once the cross is complete move on to the four white corner pieces and solve the first layer.
- Find the White Corners: Find white stickers on the bottom layer of corner pieces.
- Position the Corners: Attach every corner piece so that its colors fit the neighboring centerpieces of each face. Using algorithm R, U, R’, U’ to move each corner piece into the proper position.
- Repeat for All Corners: Repeat for Remainder of Corners: Continue to attach all remaining white corners till the entire first layer is solved with the white face 100% solved.
Step 4: Solve the Second Layer
Now that the white face and the first layer are solved, place it in a state where the white face is located at the bottom. From here you will now concentrate on the middle-layer edges.
- Identify Edge Pieces: From among the top-layer pieces, mark the pieces that do not contain yellow.
- Match and Position Edges: Match the front face color of an edge piece with the adjacent center piece and use either U, R, U’, R’, U’, F’, U, F or U’, L’, U, L, U, F, U’, F’ to position it in the middle layer.
- Complete the Middle Layer: Repeat for each of the edge pieces until all the pieces on the middle layer are solved.
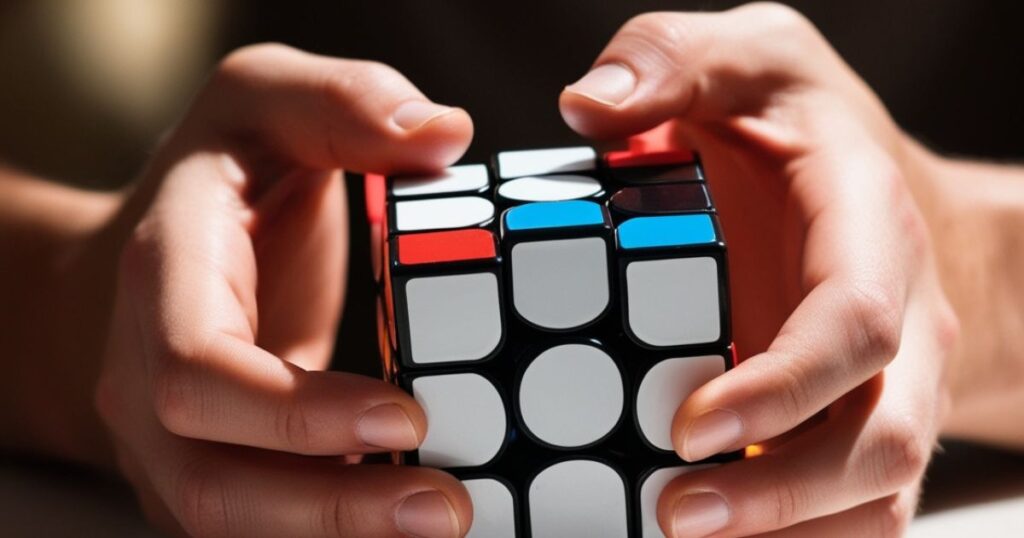
Step 5: Create a Yellow Cross on the Top Layer
With the first two layers solved, it’s time to focus on the yellow face on top.
- Form a Yellow Cross Pattern: Depending on the position of the yellow edges on the top, use one of the following algorithms:
- Dot: If there’s no yellow edge on the top, use F, R, U, R’, U’, F’.
- L Shape: If two yellow edges form an “L” shape, align them in the top-left corner and use F, R, U, R’, U’, F’.
- Line: If there’s a yellow line, perform F, R, U, R’, U’, F’ to create a yellow cross.
Step 6: Position the Yellow Corners
Locate Popped Corners: If there are no correctly oriented corners, locate all corners that are correctly oriented (but misaligned).
- Identify Misplaced Corners: If the corners are not in the right positions, look for any that are correctly placed (even if rotated incorrectly).
- Use Algorithm to Position Corners: With the correctly positioned corner in the front-right position, use U, R, U’, L’, U, R’, U’, L to move the remaining corners into place.
Step 7: Orient the Yellow Corners
Perform rotation on each yellow corner to result in a yellow side facing up.
- Align the Yellow Corners: Place the cube so an unsolved yellow corner is in the front-right position.
- Use Algorithm to Rotate Corners: Use R, U, R’, U’ repeatedly until the corner is correctly oriented. Turn the top layer to bring the next unsolved yellow corner to the front-right position and repeat until all corners are oriented correctly.
Step 8: Position the Yellow Edges (Final Step)
It’s the final step and you orient the yellow edge pieces so that each one matches with the respective color.
- Use Algorithm to Cycle Edges: If needed, use R, U, R’, U, R, U2, R’ to cycle the edge pieces until they align with the adjacent colors.
- Final Adjustment: If any edges are still misaligned, repeat the algorithm until every face is a single color.
Conclusion: Tips for Solving the Rubik’s Cube Faster
Congratulations! You have successfully solved your very first Rubik’s Cube! Now that you have a basic understanding, here are some tips that you can add to your practice routine to improve:
- Practice Algorithms: The more comfortable you are with the algorithms, the faster you’ll be able to solve the cube.
- Work on Muscle Memory: With time, your hands will remember the patterns, which speeds up your solve time.
- Experiment with Other Methods: After mastering the beginner’s method, consider learning more advanced techniques like the CFOP (Cross, F2L, OLL, PLL) method, which can help reduce your solve time even further.
Final Thoughts
It can indeed be a very fun and wonderful mental exercise to solve a Rubik’s Cube. Regular practice builds confidence and brings greater satisfaction as one solves the cube faster and more efficiently. Whether one needs basic or highly advanced techniques, remember that each turn in the way is closer to mastering this great puzzle.
Read Also:

