Ball Tower Defense is an exciting and strategic game that requires careful planning and quick thinking. As you face waves of ever-stronger enemies (or “balls”), choosing the right towers can mean the difference between victory and defeat. Whether you’re a newbie looking for your first set of tips or an experienced player seeking to refine your strategy, this in-depth Ball Tower Defense tier list will help you make smarter decisions and elevate your gameplay.
Table of Contents
As a longtime player of tower defense games and a keen strategist, I’ve compiled this tier list to not only rank the towers based on their effectiveness but also to offer actionable advice on how to use them in different situations. So, if you want to optimize your defenses, read on!
What is Ball Tower Defense?
Before we dive into the tier list, let’s briefly talk about the game. In Ball Tower Defense, your goal is simple yet challenging: prevent waves of balls (the enemies) from reaching your base. The game features a variety of towers, each with unique abilities, strengths, and weaknesses. As you progress through levels, you’ll face increasingly tough enemies, requiring a mix of strategy, tower placement, and upgrades to keep your defenses intact.
The key to success in Ball Tower Defense lies in understanding how each tower works, when to deploy them, and how to combine their abilities to maximize their potential.
How We Ranked the Towers: The Criteria
This Ball Tower Defense tier list is based on a mix of real-world gameplay experiences, effectiveness in various situations, and value for cost. Here’s what we considered:
- Damage Output: How much damage the tower can inflict on balls, especially under pressure.
- Range: The tower’s shooting radius and ability to cover a large area.
- Fire Rate: How fast the tower can fire and react to incoming enemies.
- Versatility: The effectiveness of the tower across different maps and enemy types.
- Upgrade Path: How the tower scales as it levels up.
- Cost Efficiency: How much value the tower provides for its cost.
With these criteria in mind, let’s dive into the rankings!
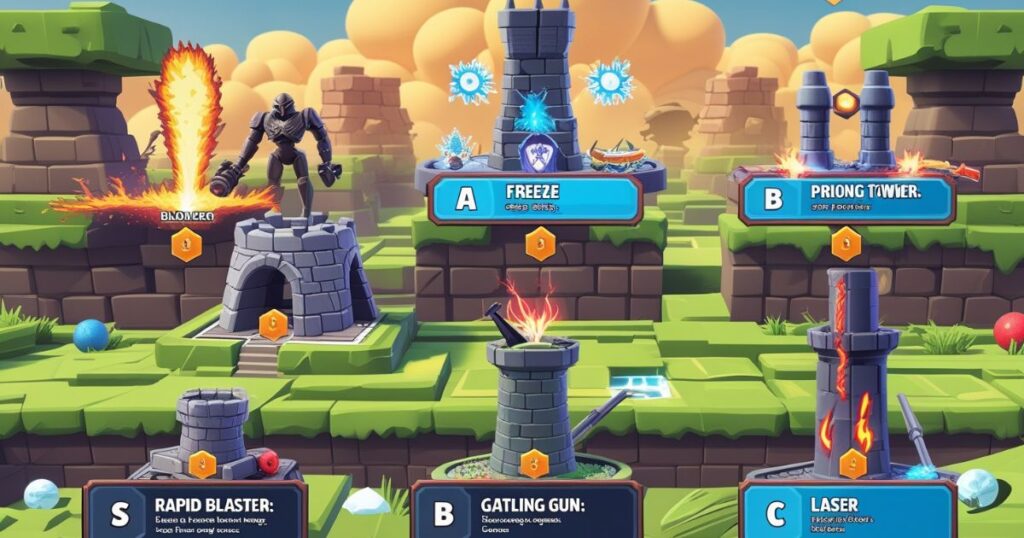
S Tier: Unstoppable Towers You Must Have
These towers dominate the battlefield and should be at the core of your strategy. They provide the highest value for both early-game and late-game defense.
Rapid Blaster: The Speed Demon
The Rapid Blaster is a top-tier tower, known for its high fire rate and balanced damage. While it may not have the highest damage output, its ability to quickly clear out waves of enemies makes it indispensable in mid-to-late game scenarios.
- Why it’s S Tier: With its rapid fire rate and consistent damage, the Rapid Blaster excels in dealing with large groups of smaller balls.
- Pro Tip: Pair the Rapid Blaster with slow-down towers like the Freeze Tower to maximize efficiency when waves get overwhelming.
- When to Use: Best for crowded maps with multiple waves of enemies. Great for controlling the middle ground and holding off fast-moving threats.
Sniper Tower: Precision at its Finest
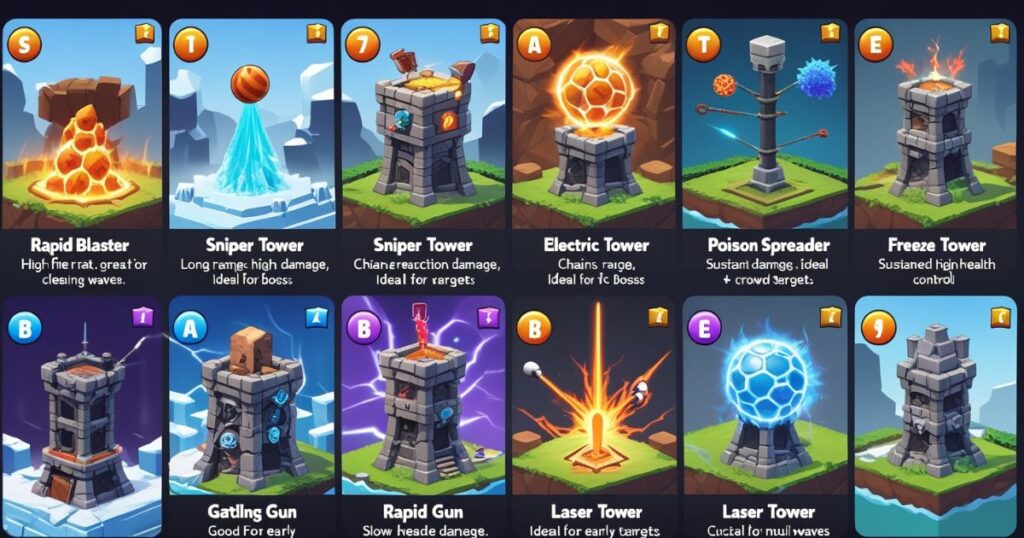
If you prefer strategic, long-range attacks, the Sniper Tower is your go-to. Known for its ability to deal significant damage to individual targets, it’s perfect for eliminating high-health enemies or bosses from afar.
- Why it’s S Tier: Its long range and high damage make it ideal for targeting the most dangerous enemies without putting your base at risk.
- Pro Tip: Position your Sniper Tower at the back of your base or near a chokepoint where it can pick off the most challenging targets.
- When to Use: Best used in late-game scenarios where powerful enemies with high health need to be dealt with quickly.
Freeze Tower: The Ultimate Staller
Not all heroes need to deal damage. The Freeze Tower can slow down balls in its range, giving your damage-dealing towers more time to clear out enemies. This makes it a crucial component of any late-game strategy.
- Why it’s S Tier: The freezing effect gives your other towers a fighting chance against fast-moving or high-health enemies.
- Pro Tip: Pair it with splash-damage towers like the Bombardier for an effective crowd control strategy.
- When to Use: Use in narrow or winding paths where slowing enemies gives your other towers more time to act.
A Tier: Strong Towers with Solid Utility
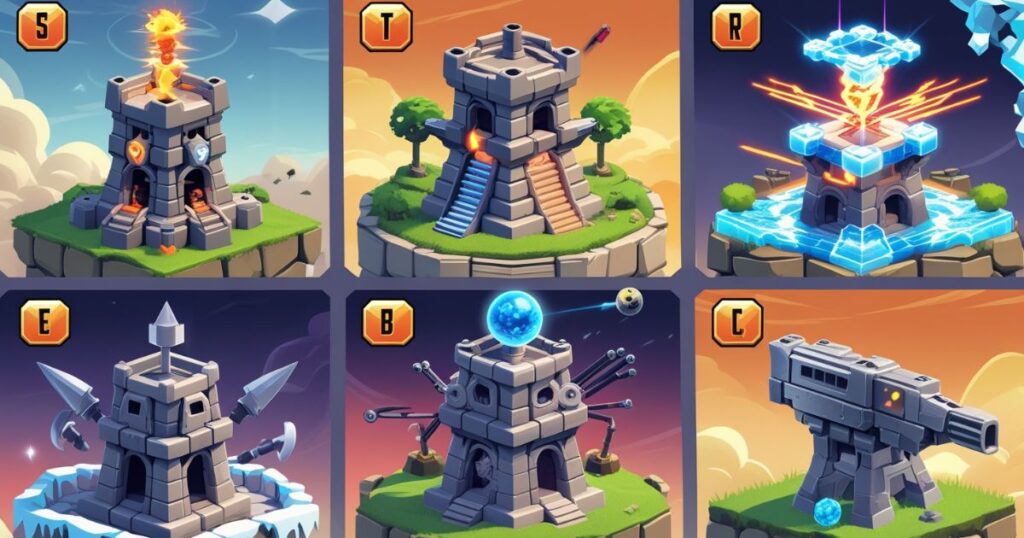
These towers are reliable and perform exceptionally well in various scenarios. While they may not offer the sheer raw power of S Tier towers, they are versatile and still very effective.
Bombardier: Splash Damage Powerhouse
The Bombardier tower excels in dealing with groups of enemies through its splash damage. It’s especially effective when facing multiple smaller enemies that could overwhelm your defenses.
- Why it’s A Tier: Great for dealing with large clusters of balls in the early-to-mid game.
- Pro Tip: Use the Bombardier in conjunction with Rapid Blasters to deal with both individual and group enemies.
- When to Use: Ideal for clearing out waves of smaller enemies that are likely to overwhelm a single-target tower.
Electric Tower: Chain Reaction Excellence
The Electric Tower sends electricity that chains between balls, dealing damage to each enemy in the chain. It’s especially useful against groups of weak enemies or fast-moving smaller balls.
- Why it’s A Tier: It can hit multiple targets at once, making it highly effective for handling fast-moving, weak enemies.
- Pro Tip: Position the Electric Tower near intersections where the electricity can chain through multiple enemies.
- When to Use: Perfect for early and mid-game waves, especially when enemies are numerous but not very strong.
Poison Spreader: A Steady Drip of Damage
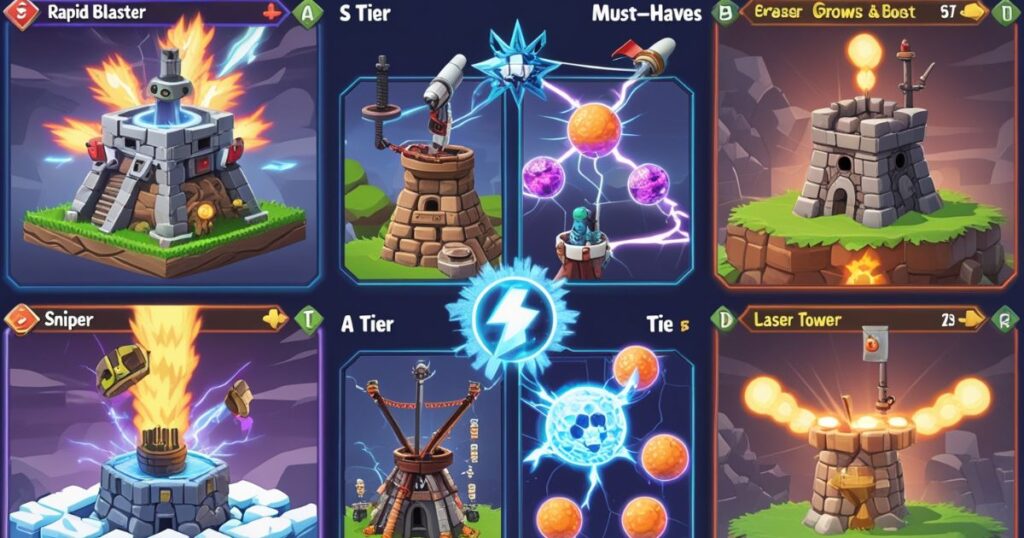
The Poison Spreader applies damage over time, making it incredibly effective against high-health enemies. While it doesn’t deal immediate high damage, its ability to chip away at an enemy’s health is invaluable in the late game.
- Why it’s A Tier: Its sustained damage wears down tough enemies over time, making it perfect for dealing with bosses or heavy tanks.
- Pro Tip: Combine it with freeze or slow-down towers for added effectiveness.
- When to Use: Best used in the late game when enemies are tougher and more numerous.
B Tier: Reliable, But Best Used in Specific Situations
These towers offer solid performance but may fall short when compared to the higher tiers. They’re useful in specific strategies, but should not be relied on exclusively.
Gatling Gun: The Machine of Efficiency
The Gatling Gun is all about rapid-fire damage. While it doesn’t offer massive single-target damage, its rapid fire rate can mow down waves of weaker enemies.
- Why it’s B Tier: It’s fast but lacks the high damage necessary to deal with tougher enemies.
- Pro Tip: Combine it with higher-damage towers or use it early to build a strong defense.
- When to Use: Great for early-game waves when enemies are weak and numerous.
Laser Tower: Long-Range Precision
The Laser Tower deals continuous damage in a straight line, making it excellent for precision strikes against a small number of strong enemies. However, it can struggle against larger clusters of fast-moving balls.
- Why it’s B Tier: It’s highly effective for single-target elimination but not ideal for dealing with crowds.
- Pro Tip: Place in narrow corridors or chokepoints where it can focus on one target at a time.
- When to Use: Best for single-target bosses or tough enemies in narrow paths.
C Tier: Use with Caution
While these towers aren’t useless, they’re generally less effective compared to the higher-tier towers. They may shine in niche strategies but should be used sparingly.
Boulder Tower: Slow but Strong
The Boulder Tower delivers a heavy blow to individual enemies but is slow to fire and has limited range.
- Why it’s C Tier: Its slow fire rate and range limitations make it less effective in fast-paced situations.
- Pro Tip: Use it against large, slow-moving bosses where its damage output can shine.
- When to Use: Best for specific strategies, such as dealing with one tough enemy at a time.
Ice Tower: Control with No Damage
The Ice Tower freezes enemies, but it doesn’t deal damage. It’s useful for slowing enemies down but doesn’t contribute much to the overall defense on its own.
- Why it’s C Tier: The lack of damage makes it less useful unless combined with other towers.
- Pro Tip: Use in combination with high-damage towers to maximize its utility in controlling enemy movements.
- When to Use: Ideal when paired with damage-dealing towers in tight spots.
Conclusion: Mastering Ball Tower Defense
With this tier list, you’re well on your way to mastering Ball Tower Defense. The key takeaway here is that no single tower is perfect for every scenario, and the best defense strategy often combines several towers working in harmony. By understanding the strengths and weaknesses of each tower, and experimenting with different combinations, you can tailor your defense to match each challenge.
Pro Tip: Don’t forget to continuously upgrade your towers and adjust your strategy based on the evolving waves of enemies.
Read Also:
