Grim Legends 2: Prepare yourself for an immersive adventure where you’ll prove the innocence of a young queen facing a grave injustice. Whether you need help overcoming a tricky part or want a full guide from start to finish, you’re in the right place. This walkthrough includes annotated screenshots from actual gameplay to guide you every step of the way. Use the menu below to jump to specific chapters or stages. For more help, visit the Big Fish Games Forums. Enjoy the journey.
Table of Contents
General Tips Grim Legends 2

- This is the official guide for Grim Legends: Song of the Dark Swan.
- Screenshots will not show zoom-ins; refer to them for visual guidance on scenes that require zooming.
- Hidden-object puzzles are referred to as HOPs. This guide will indicate when a HOP is available and what inventory item you’ll receive, but will not include screenshots of HOPs.
- Step-by-step solutions are provided for all non-random puzzles. Follow in-game instructions for puzzle details.
Chapter 1: The Abduction
- Take the TRAVEL BAG (A).
- Place the TRAVEL BAG on the table and complete the HOP to obtain a MAGNIFYING GLASS (B).
- Open the chest, rearrange the items, and collect the GOBLET (C).
- Talk to the Peacock Lady (D).
- Proceed forward.
- Talk to the Peacock Lady (E).
- Collect the EMPTY PITCHER (F).
- Use the MAGNIFYING GLASS (G).
- Walk down.
- Fill the EMPTY PITCHER with water to get a PITCHER OF WATER (H).
- Place the PITCHER OF WATER on the table to start a mini-game (I).
- Solution:
- Light the match (1) in the candle (2) to ignite the burner (4).
- Pour the green liquid (6) into beaker 5.
- Pour beaker 5 into beaker 3.
- Fill beaker 3 with water (7) and transfer it to beaker 5.
- Fill beaker 3, then transfer to beaker 5.
- Empty beaker 5 and pour into beaker 3.
- Fill beaker 3 again and transfer to beaker 5.
- Add herbs (8) to beaker 5.
- Pour beaker 5 into the cauldron and collect the CALMING BREW with the GOBLET.
- Solution:
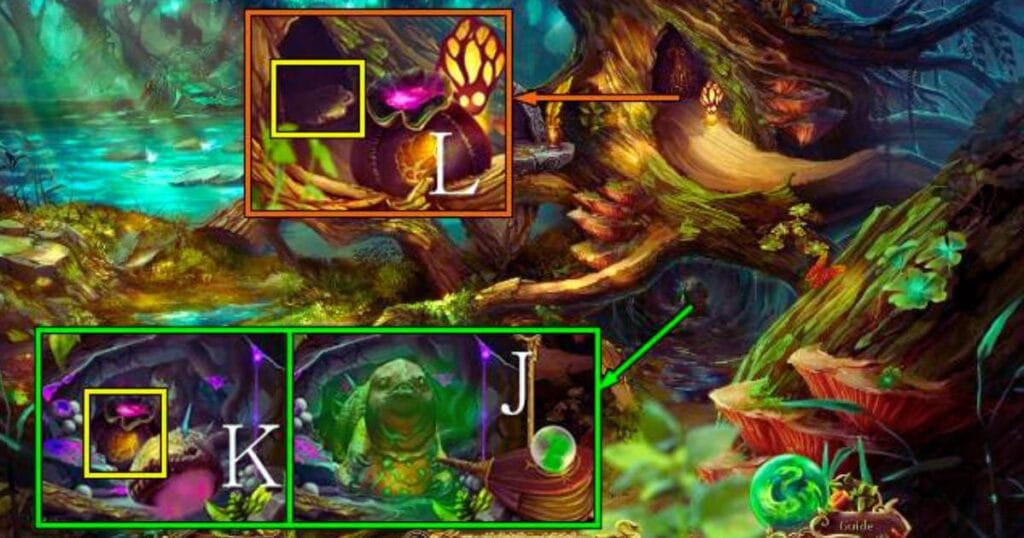
- Give the CALMING BREW to the Peacock Lady (J).
- Obtain the AXE MEDALLION (K).
- Use the AXE MEDALLION to acquire the HATCHET (L).
- Use the HATCHET three times (M).
- Go right.
- Inspect the Queen (N); collect the EYE MEDALLION (O).
- Remove the mushrooms to find a note (P).
- Collect the EXTINGUISHED TORCH (Q) and the HOOK (R).
- Walk down.
- Give the EYE MEDALLION to the King.
- Collect the KING’S FLOWER (S) and SUN STONE (T).
- Move the cushion (U) and open the book to get PUZZLE PART 1/5 (V).
- Light the EXTINGUISHED TORCH to get a LIT TORCH (W).
- Proceed right.
- Place the SUN STONE to begin a mini-game (X).
- Use the LIT TORCH and advance forward (Y).
- Repair the nest with twigs (Z) and place the chick in the nest (A); the Swallow will help you.
- Have the Swallow retrieve the RIBBON (B).
- Move forward.
- Collect the WOODEN CASTLE (C).
- Clear the vines and rocks (D).
- Show the Queen the KING’S FLOWER to receive the QUEEN’S GEM (E).
- Go to the Queen’s Chamber.
- Use the QUEEN’S GEM (F) for a mini-game (G).
- Collect the NETTLE SHIRTS, note, and KNIFE (H).
- Walk down.
Chapter 2: The Fall
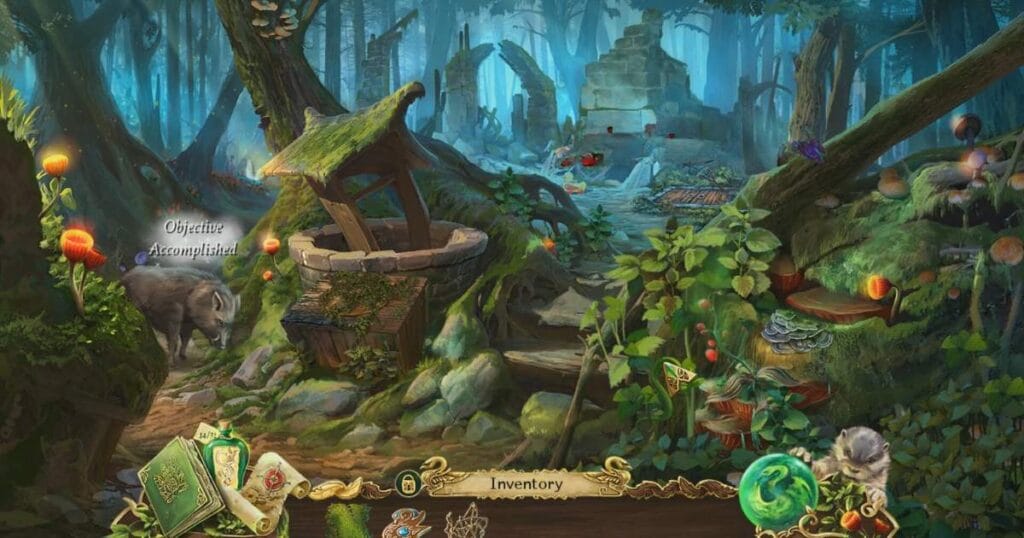
- Take the CHARM (I).
- Open the door with the CHARM and enter the next area.
- Collect the TORCH (J) and the CROWBAR (K).
- Use the CROWBAR to open the crate (L) and collect the SHOVEL (M).
- Go forward to the forest.
- Use the SHOVEL to dig up the SOIL (N).
- Collect the ANCIENT COINS (O) and the SHEARS (P).
- Use the SHEARS to cut the vines (Q).
- Collect the SPARE KEY (R).
- Use the SPARE KEY to unlock the gate (S).
- Inspect the area and collect the WAX (T).
- Use the WAX to seal the crack (U).
- Proceed to the next chapter.
Chapter 3: The Survivor

- Collect the WOODEN PLANK (V).
- Use the WOODEN PLANK to cross the gap (W).
- Collect the REPAIR KIT (X).
- Use the REPAIR KIT to fix the broken bridge (Y).
- Collect the HELMET (Z).
- Use the HELMET to protect yourself in the cave (A1).
- Collect the FLASHLIGHT (B1).
- Use the FLASHLIGHT to explore the dark areas (C1).
- Collect the MAP (D1).
- Use the MAP to navigate through the forest (E1).
- Inspect the area and collect the MEDICAL SUPPLIES (F1).
- Proceed to the next chapter.
Chapter 4: The Betrayal

- Take the LOCK PICK (G1).
- Use the LOCK PICK to open the chest (H1).
- Collect the JOURNAL (I1).
- Read the JOURNAL to find clues (J1).
- Use the clues to unlock the hidden passage (K1).
- Collect the SECRET DOCUMENTS (L1).
- Use the SECRET DOCUMENTS to reveal the hidden messages (M1).
- Inspect the area and collect the MEDAL (N1).
- Proceed to the next chapter.
Chapter 5: The Chase
- Collect the FOOTPRINTS (O1).
- Follow the FOOTPRINTS to the hideout (P1).
- Use the HIDDEN KEY (Q1) to open the door (R1).
- Collect the TRACKING DEVICE (S1).
- Use the TRACKING DEVICE to locate the target (T1).
- Inspect the target’s hideout and collect the EVIDENCE (U1).
- Proceed to the next chapter.
Chapter 6: The Rescue
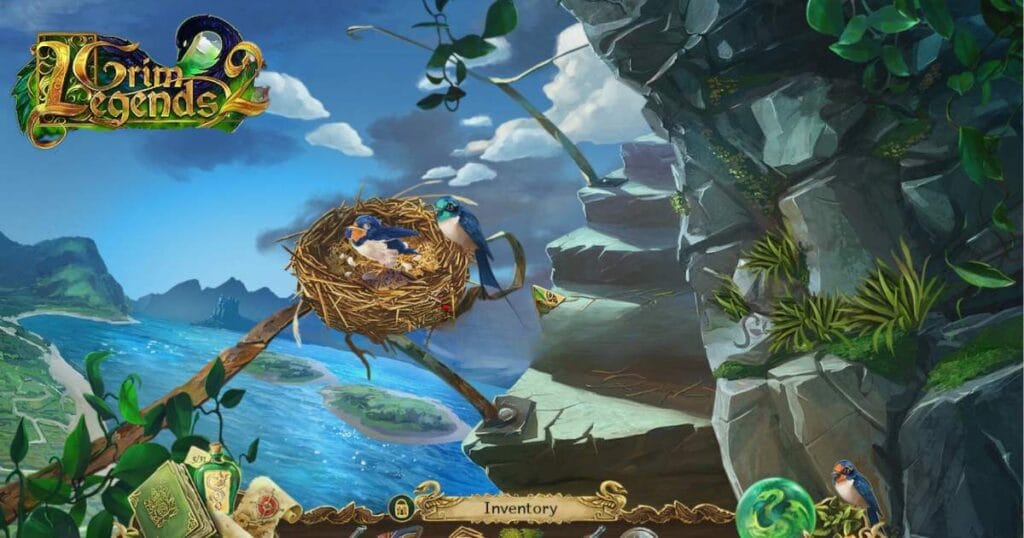
- Collect the ROPE (V1).
- Use the ROPE to climb the wall (W1).
- Collect the RESCUE KIT (X1).
- Use the RESCUE KIT to save the prisoner (Y1).
- Collect the INSTRUCTIONS (Z1).
- Follow the INSTRUCTIONS to navigate through the area (A2).
- Proceed to the next chapter.
Chapter 7: The Reunion
- Collect the LETTER (B2).
- Use the LETTER to find the hidden messages (C2).
- Collect the FAMILY PHOTO (D2).
- Inspect the area and reunite with the character (E2).
- Use the FAMILY PHOTO to unlock the final door (F2).
- Proceed to the next chapter.
Chapter 8: The Execution
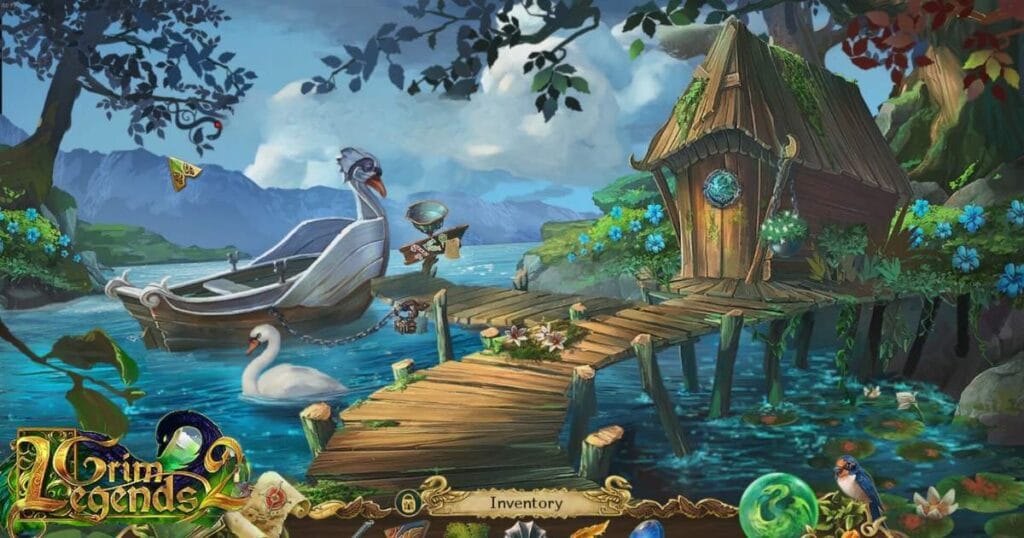
- Collect the FINAL CLUE (G2).
- Use the FINAL CLUE to reveal the truth (H2).
- Inspect the area and gather all the evidence (I2).
- Present the evidence to the King (J2).
Conclusion
Grim Legends: Song of the Dark Swan is one entertaining adventure which features a lot of brain teasers, supposed to keep you guessing until the intrigue- and mystery-filled plot unfolds. This walkthrough has detailed solutions and tips for overcoming the obstacles of the game and unraveling the truth.
Enjoy the journey and find the secrets of Grim Legends!
Read Also:
